After fitting the post and beams the wind braces need to be done. These stabilize the building providing racking strength, when the wind blows on one side of the house it will try to push over the building, the braces help to stop this. They are fitted at 45 degrees using traditional mortise and tenon joints which are then drilled and pegged. The beams we removed and put on the bench to make the mortises.
 |
| Mortise marking template |
|
|
|
|
|
|
The mortise marking template is offered up to the flat surfaces which have been left on the post and beam. It is adjusted to suit the length, clamped and then the 2"x4" mortise positions are marked.
 |
| Mortise in post |
We had to adjust the heights of the mortises as they were meeting in the posts, amateur mistake! And next time I'm working with round wood put centre lines on everything and work to these for all setting out and positioning. I placed the post and beams lining up on the outside edge, this caused a fair bit of difficulty for everything I had to do with them afterwards.
 |
| Magic box for marking and cutting the braces |
Our magic box is then adjusted to the same length as the mortise template and the brace is placed in the center and fixed in position with loads of big screws. There are marks showing the tenon positions. A hand saw is used to make the cuts with the blade snug against the 45 degree ends. Ben Law's Roundwood Timber Framing book explains all this a bit better. Thats where I got this idea from and it worked out really well, these templates were definitely worth making for making braces with roundwood.
 |
| Karel checking the tenon surface for flat |
 |
| Beam and wind braces ready for fitting |
 |
| Ben lifting the heavy beam onto the scaffold solo! |
 |
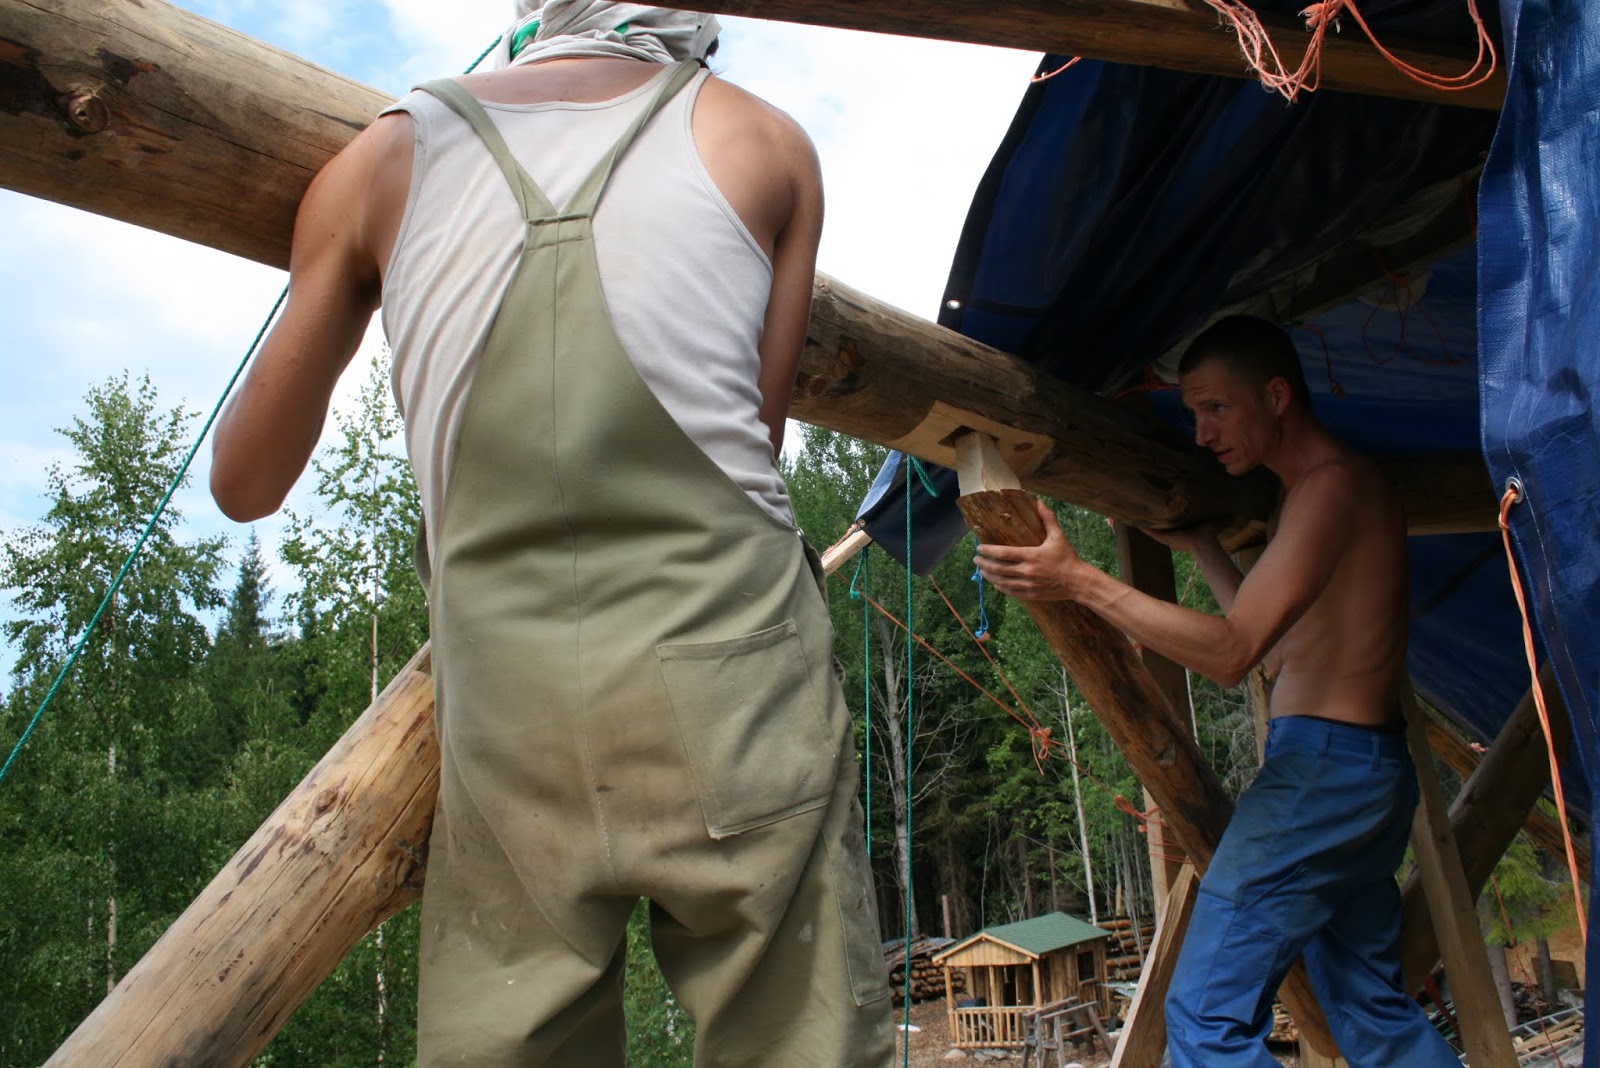
| Lining up brace tenons with beam mortices |
 |
| A little encouragement and then its done |
Next the joints are drilled and pegged with a 7/8" 22mm pegs made from dried spruce branch.